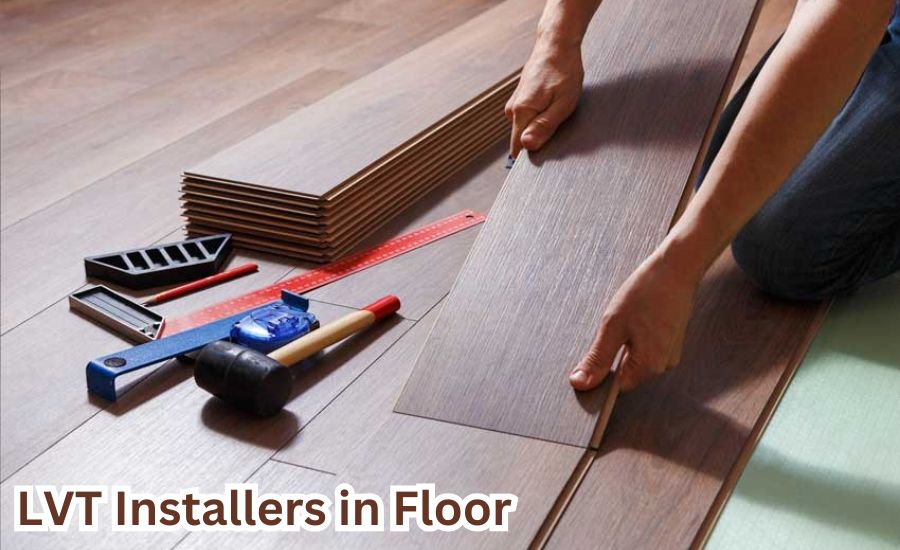
It’s important to keep in mind that professional installers are important for quality luxury vinyl tile (LVT) flooring installation. Not only do they make sure they look great, but they also help keep your warranty valid.
While some people may attempt a DIY installation to save money, they often miss the expertise required for warranty protection. By working with LVT installers from 50Floor for your installation, you’ll safeguard your investment and guarantee quality results.
Understanding Manufacturer Warranties
Manufacturer warranties cover new product defects, making sure the item works correctly for a specific duration. They range from 90 days for small gadgets to longer for cars and big appliances.
It’s important to read and understand what they cover, which is mostly problems from bad materials or making, not damage from misuse or normal wear and tear.
Types of Warranties
Luxury Vinyl Tile (LVT) flooring offers different warranties like residential, commercial, and lifetime. Residential ones last 15-25 years, commercial ones are shorter at 5-10 years, and lifetime warranties cover the product’s life for home use. Knowing these details before installing can help you make smart choices.
Common Warranty Terms
LVT flooring warranties focus on the “wear layer” and “structural integrity.” The wear layer protects against foot traffic, while structural integrity means the flooring won’t get damaged easily. To keep the warranty, you must install and take care of the floor as the maker says. Not knowing what these terms mean might accidentally void your warranty.
What Warranties Cover
Warranties guard against damage from wear, stains, and defects, even with proper care. They’re key to keeping floors looking and working well. But it’s important to check each warranty’s specific details.
What Warranty Exclude
LVT flooring warranties usually don’t cover bad installation, misuse, or damage to the environment. Water damage and pet scratches often aren’t included. Knowing what’s excluded can help avoid accidentally voiding the warranty.
Installation Requirements for Warranty Compliance
To keep your warranty valid, follow the manufacturer’s setup instructions. Ignoring these could void your warranty, leaving you without support if issues arise. It’s important to use the correct tools or consider professional installation to safeguard your warranty and make sure your product performs well for a longer time.
Pre-Installation Guidelines
Before installing luxury vinyl tile (LVT), follow certain steps to keep the warranty valid. Let the flooring adjust to the room’s temperature by leaving it there for at least 48 hours, avoiding later expansion or contraction. Always check each LVT piece for defects before installing to save time and money, reporting any issues to the manufacturer right away.
Approved Installation Methods
Manufacturers say to install floors using their methods, like floating or glue-down, to keep the warranty. Floating floors are easy to put in and replace since they don’t stick to the subfloor. Glue-down floors use adhesive for a more lasting fix. It’s important to follow these instructions to avoid losing the warranty.
Required Tools and Materials
For a successful LVT installation, you need the right tools, like moisture meters, proper underlayment, and the adhesive the manufacturer suggests. Using these guarantees your installation is up to standard and keeps the warranty valid.
Installer Responsibilities for Maintaining Warranty Compliance
To keep a warranty valid, installers must stick to the manufacturer’s guidelines and know the product well. Correct installation and showing customers how to use the product right ensures the warranty stays intact. This keeps customers satisfied and trusting in the product and service.
Following Manufacturer Guidelines
Not doing so can cancel warranties. Installers should check the product manual or the company’s website to get these guidelines. This keeps the installation right and avoids expensive errors.
Doing Subfloor Preparation
The significance of subfloor preparation cannot be overstated. It’s foundational for maintaining warranties. The subfloor must be clean, dry, and level before installation begins.
Steps include:
- Cleaning debris and dust.
- Checking for moisture using appropriate meters.
- Ensuring the surface is even.
Moisture and uneven surfaces jeopardize the LVT’s performance. They can cause adhesion problems and eventual flooring failure.
Using Recommended Adhesives
Choosing the right adhesive is important for your floor’s durability and keeping its warranty. Using the wrong one can cause damage like detachment or warping. Brands recommend specific adhesives, typically pressure-sensitive or hard-set, for the best results.
Addressing Environmental Factors
To protect LVT flooring and prevent damage, it’s important to maintain the right temperature and humidity during and after installation. Using dehumidifiers or heaters can help, make sure the floor stays in good condition and the warranty remains valid.
Protect Your Investment: Choose the Right LVT Installer
LVT flooring is durable and looks great, but it needs to be installed properly to keep its warranty. Warranties need exact installation and records, so picking a skilled installer is very important. They don’t just put in your floor; they help keep your warranty safe by following all the manufacturer’s guidelines.
Choose an installer who understands how important it is to make sure your floor stays beautiful and strong. Don’t risk losing your warranty by not focusing on this important step. Find a trusted installer now for a worry-free floor setup.
Stay informed with the latest news and updates on Discoveressentia.com
